Why should you build a binde?
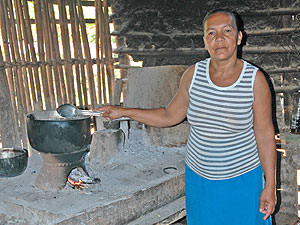
In many traditional communities, food is cooked over an open
fire. This method of cooking consumes large quantities of firewood and often
produces large amounts of smoke, which with repeated exposure can irritate human
lungs and eyes. In Colombia, most campesinos cook food over an open fire. They
position 3 stones so that a cooking pot can be balanced over an open fire.
 In
an effort to reduce the amount of firewood that is consumed we began to look for
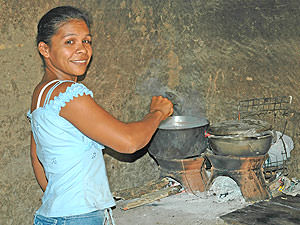
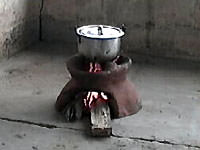
alternatives. In our search, we discovered the “binde,” a small cook stove that
was traditionally made from a termite mound. Campecinos who cooked using bindes
said that they burned less fuel than cooking over an open fire.
In
an effort to reduce the amount of firewood that is consumed we began to look for
alternatives. In our search, we discovered the “binde,” a small cook stove that
was traditionally made from a termite mound. Campecinos who cooked using bindes
said that they burned less fuel than cooking over an open fire.
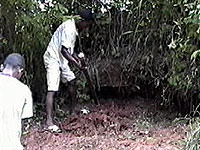
The challenge with the traditional method of making bindes out
of termite mounds is that it required going into the forest to find a termite
mound, bring it back to the village, and fashion it into a binde. The problem
with the traditional binde is that although they conserved more fuel, they
wouldn’t last very long, often cracking and disintegrating with repeated use. So
the team of Proyecto Tití worked on a project to make bindes better, and that is
what we want to share with you!
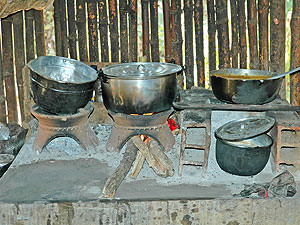
We’ve developed a method of making bindes that significantly
reduce the amount of firewood that is consumed. Our studies have shown that a
family of 5 uses on average 15 logs a day when cooking over an open fire, but
when using a binde you burn on 5 logs a day! And the even better news is that
you can burn just about anything in a binde (corn husks, yucca tassels, etc.)!
 Our
hope is that more communities will begin to use bindes as a method to conserve
forested habitat. We have provided information on how to make a binde as well as
an evaluation form for you to complete. We would love your feedback on this
information and hope that you will share your stories with us on how more
communities are using bindes!
Our
hope is that more communities will begin to use bindes as a method to conserve
forested habitat. We have provided information on how to make a binde as well as
an evaluation form for you to complete. We would love your feedback on this
information and hope that you will share your stories with us on how more
communities are using bindes!
Primary ingredients:
- Clay (free of natural debris)
- Sand (fine with no debris)
- Water
These easy step by step instructions will help you make your binde!
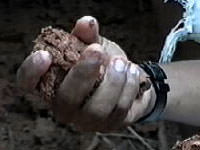
1. Collect Clay – The color doesn’t matter. What’s most
important is that it be smooth, moist and malleable. It should be free of rocks,
sticks, roots, etc. Generally, clay found near rivers is cleaner.
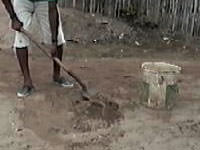
2. Collect Sand – The sand will be mixed with the clay to make
it easy to work with.
3. Remove any sticks, stones or roots from the clay.
4. The sand needs to be free of stones, debris, etc. Use a
sifter to separate sand.

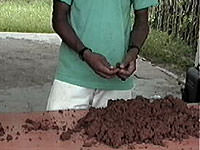
5. Mix together equal parts clay and sand. Mix well so that the
sand is not visible.
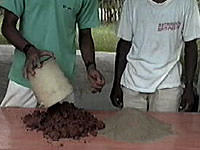
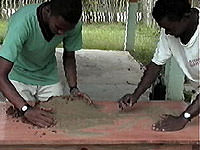
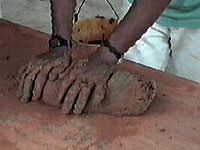
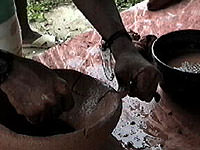
6. Form a “mound” on a flat surface or table. Form an indentation in the
center of the clay/sand mix and add water. By pouring water in the
indentation, this will prevent the water from running off the surface. Mix
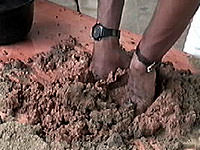
and knead like bread dough, making sure to eliminate air pockets.
Air pockets will cause the binde to crack when it is fired. The mixture should
be moist, but not wet, so that you can begin to shape it into coils.

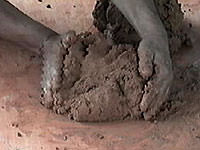
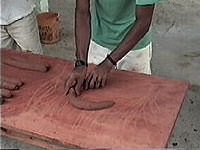
7. Begin to form coils, adding small amounts of sand if clay is
too wet or sticky. How do you know if you have the correct consistency? If
your finger sticks when gently tapping the clay, more sand needs to be added.
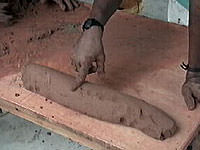
8. Continue to form several coils, rolling until smooth.
Finished coils should be approximately 5 cm wide and 30 cm long.
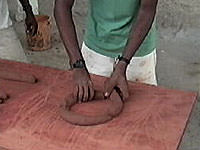
9. We suggest using a heavy piece of plastic as a base from
which to build your binde. This will allow you to easily remove the finished
binde from the surface.
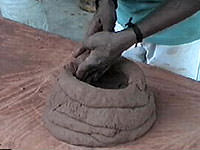
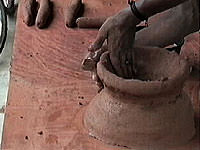
Begin to shape coils into circles. Place coils together, gently
overlapping edges. Continually smooth over attachment points and take care to
remove all air pockets.
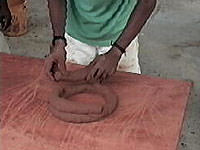
Once the coils have formed the base of the binde, begin to lay
coils so that a conical shape is formed.
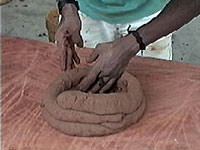
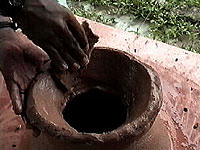
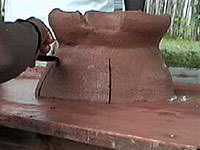
10. When the height is approximately 10 cm, the coils
should be set at a wider angle, forming an inverted cone.
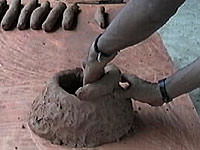
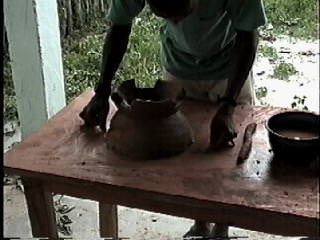
11. When the basic form is complete, use a wet sponge or piece
of cloth to smooth and shape the binde, always supporting the opposite side of
the clay. Take care to remove all air pockets.
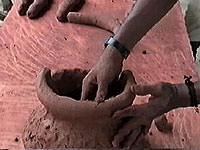
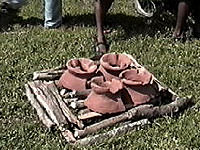
12. Attach 3 small pieces of coil to the inner opening at the
top of the binde. These are what the pot will rest on while allowing smoke to
escape. These attachments also allow for different sized pots and pans to be
placed on the binde. Remember to smooth over.
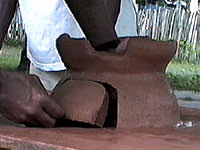
Alternatively, you can cut three rectangular openings from the clay using
fishing line, wire, or strong thread. The remaining steps show a binde
with the rectangular cut-outs.
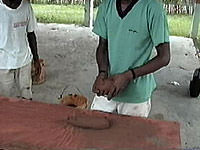
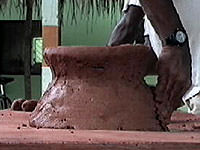
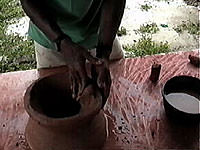
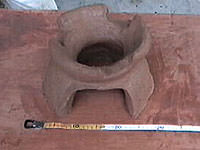
13. Using a knife, cut a trapezoidal opening in the bottom of
the binde. This is for wood placement when cooking. Insert your hand in
the binde and push the clay out from the opening and smooth over.
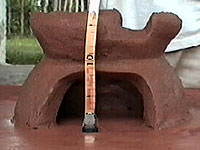
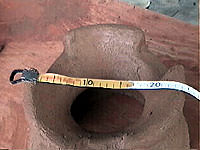
14. The final height is 15 cm. Width at bottom is 30 cm. Width at
top is 25 cm.
This size has been suitable for most cooking pots in Colombia,
however, these dimensions are not the only size for a binde; larger and smaller
bindes should be built proportionately.
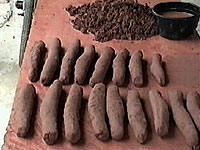
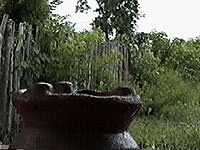
15. The binde should be left to dry in the shade for a
week.
At this point, if the binde was not made on plastic, use a fine
wire to separate the clay from the surface, sliding underneath the binde.
It’s now time to fire your binde so that it will be ready for
use!
16. The bindes should sit under the sun for 2-3 hours to
acclimate to the heat before firing.
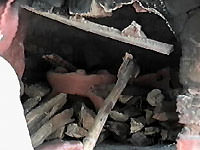
17. If a kiln is not available, you can build a makeshift
kiln…
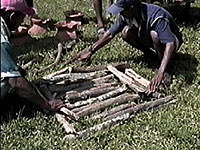
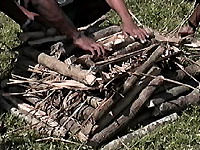
Lay several sticks down to form a base on which to place the bindes. Build a
covering with more sticks and kindling, which should burn easily. Finally,
encircle the “kiln” with more sticks as if building a tent.

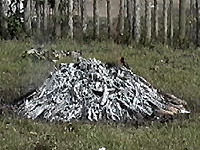
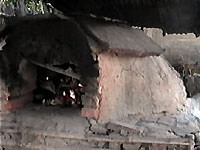
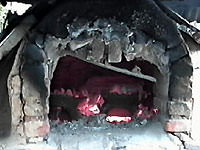
or use a wood-burning oven. In either case, let the fire burn itself out.
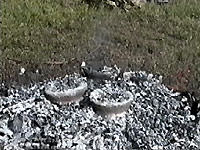
18. Take care when removing bindes from fire or stove. Use tongs or sticks to
remove and let cool.
19. Knock on the sides of the binde (as if knocking on a
door). It should sound light, like porcelain. If the clay sounds
heavy, it has not fired enough and will crack easily when heated.
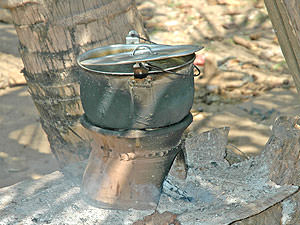
20. Your binde is ready for use! To prolong
it’s usefulness, keep it away from water (eg. hot water spilling from a pot).
We recommend that you do not use water to extinguish the fire in a binde. Either
let the fire burn itself out or pull the logs out of the binde to extinguish
them.
Enjoy your binde and know that you are helping to conserve
forest habitat every time you use it!